How to install bespoke rooflights from Vario by VELUX
Installing bespoke rooflights is no more difficult than installing standard sized rooflights. When installing Vario by VELUX bespoke rooflights, there are 6 simple steps to understand and follow. In this post, we will go through them and provide some tips and tricks, to make your installation of bespoke rooflights as smooth as possible.
6 simple steps to install a rooflight
Step 1: Preparing the roof opening
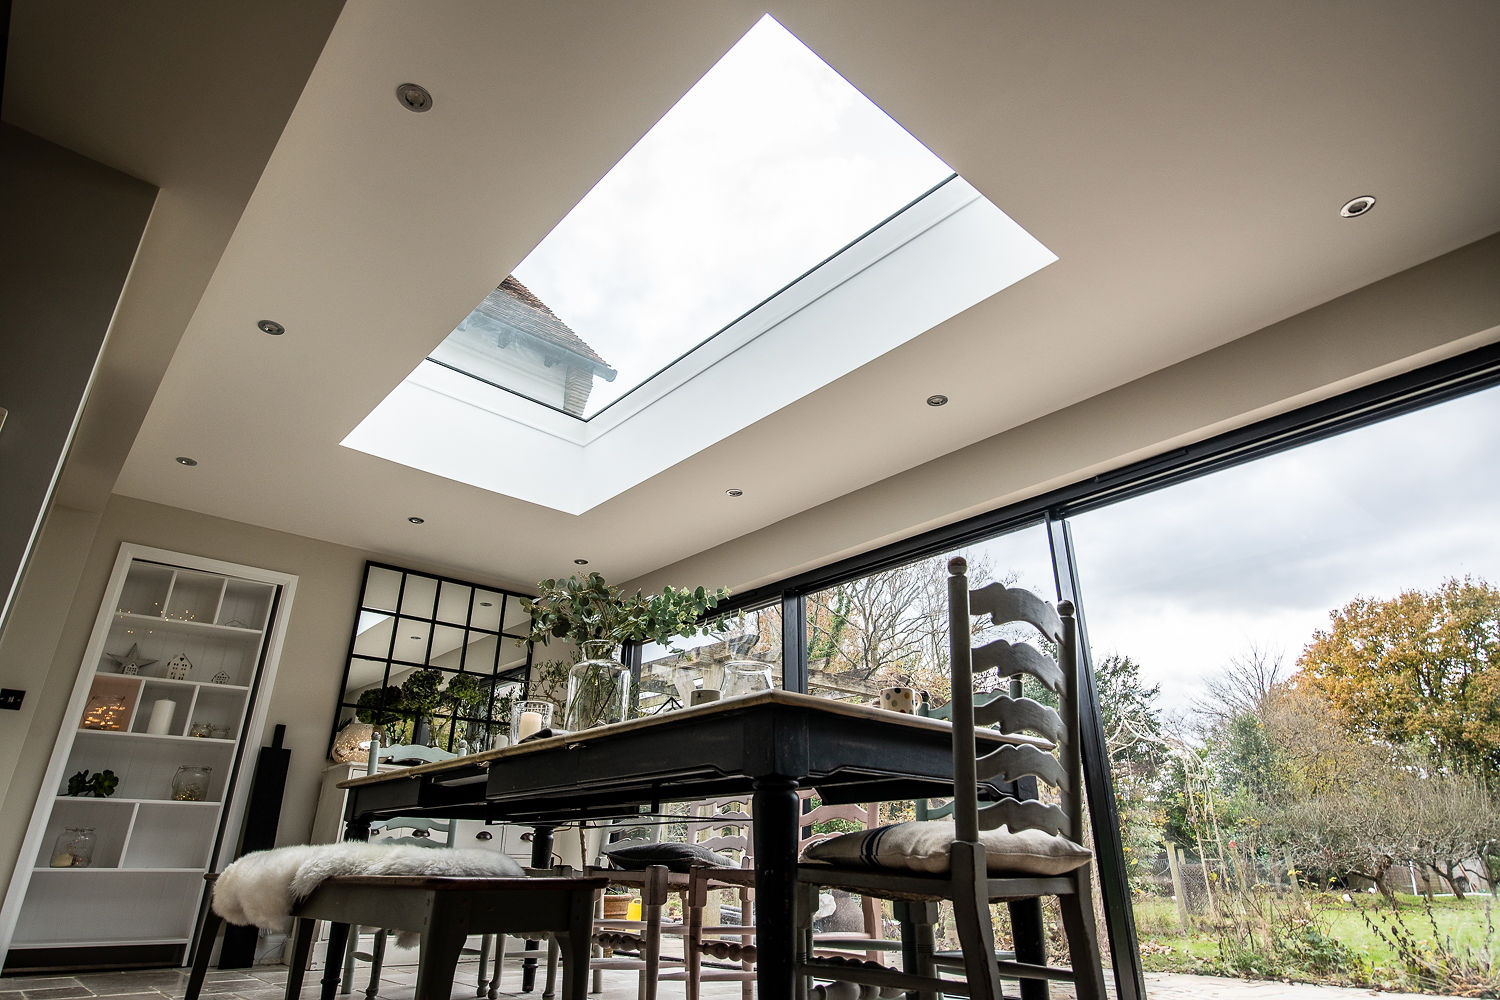
Making the correct size of opening: If you are constructing a new roof, you will most likely trim the roof to fit the specific rooflight size you will be installing at a later stage. For Vario by VELUX rooflights, the size of the product (e.g. 900mm x 3000mm) is the interior measurement or the measurement of the area of open sky you will end up with when the installation is complete. Therefore, the roof opening, known as the structural opening, should be +30mm on both its length and width, so for the example provided you’d create a structural opening of 930mm X 3030mm. This is to make room for the 15mm lining that will be present on each of the four sides.
Supporting the product: It is important that the rooflight is fully supported all around its edges. When installing Vario by VELUX rooflights you need +100mm full support around the product, in order for it to have a solid foundation and to avoid your rooflight moving or twisting during the coming 25-30 years.
Installation pitch: Vario by VELUX recommends an installation pitch of 5 degrees, to avoid water pooling on the pane. If the roof itself has a lower pitch than 5 degrees, for example a flat roof, you’ll need to build a wedge with the correct pitch. As explained in the previous point, it is important to ensure that the wedge is supporting the rooflight +100mm all around its edges.
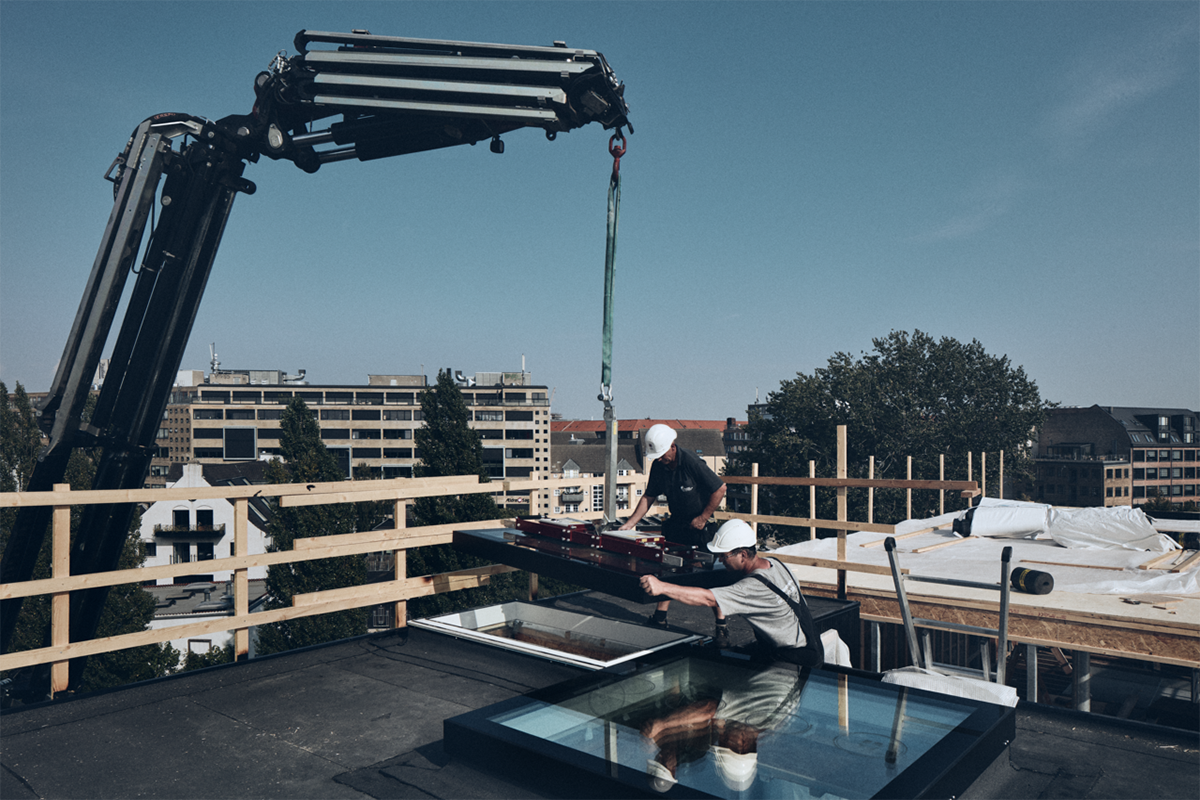
Step 2: Getting the product onto the roof
The foremost important thing to consider when moving any rooflight is your safety. Since our product weighs between 100 – 500 kg (depending on size), we recommend that you find an appropriate tool to lift the product to the roof and that you are trained to use it safely.
Contractors who have installed our products before have used a normal pulley, genie lift, hoist or a larger crane depending on the size of rooflight and the access they are able to get to the house.
Step 3: Installing the upstand
When you have prepared the roof opening for installation, secured the roof construction to be safe to walk on and received the products, you are ready to initiate the installation of your Vario by VELUX rooflight.
Due to the wide variety of roof construction methods and roofing materials, installation brackets, triangular moulding and installation screws must be purchased separately, as they are not included in the delivery.
If all relevant contractors are on site i.e. a carpenter, a roofer and if needed an electrician, the rooflight installation can be done in a single day.
The first step when installing the upstand is to remove the top unit from the upstand. 2-4 double suction cups for glass are a handy tool for mounting and moving the top units. When removing the top unit, it is important to ensure air flow underneath the glazing e.g. by placing the top unit on two rafters or similar. This will both ensure the air flow and make it easier to handle the top unit later in the process. The air flow underneath the pane will ensure that heat is not accumulated under the glazing, as if this happens it can ultimately break the glazing.
When you have removed the top unit, you should place the upstand on top of the prepared opening. It is important to ensure that the preinstalled vapour barrier is positioned inside the prepared opening, as it will be connected to the vapour barrier of the roof construction prior to installing the lining. To securely install the upstand, it should be fixed with either L-brackets or flat brackets, the size and length of these are dependent on the roof construction and the recommended wedge that has been built. You should install at least two brackets on each side of the rooflight.
When the rooflight has been fixed, the triangular moulding should be applied or fixed to the roof construction and the rooflight. This will ensure that the roofing material being applied during the next step does not bend and break.
Step 4: Weathering the upstand
The weathering of the upstand is an important step and is often something which is done by a professional roofer due to the skill level required to perform this step effectively. If you choose to do this yourself, make sure you fully understand how to do it correctly. The weathering must be done securely, in order to avoid leakage or similar hazards during the products lifetime.
Step 5: Installing the top unit
Once the weathering has been made, the black flashings (included in the package) must be secured. These will have to be cut in the length suitable for the specific rooflight installed. The flashings have two functions; the first being the elimination of driving rain getting up under the top unit and into the rooflight construction and the second being a fixing of the roofing material. Roofing felt or single ply has a tendency to move or slide slightly during really warm summer days, so the flashing will ensure that the roofing material stays in place.
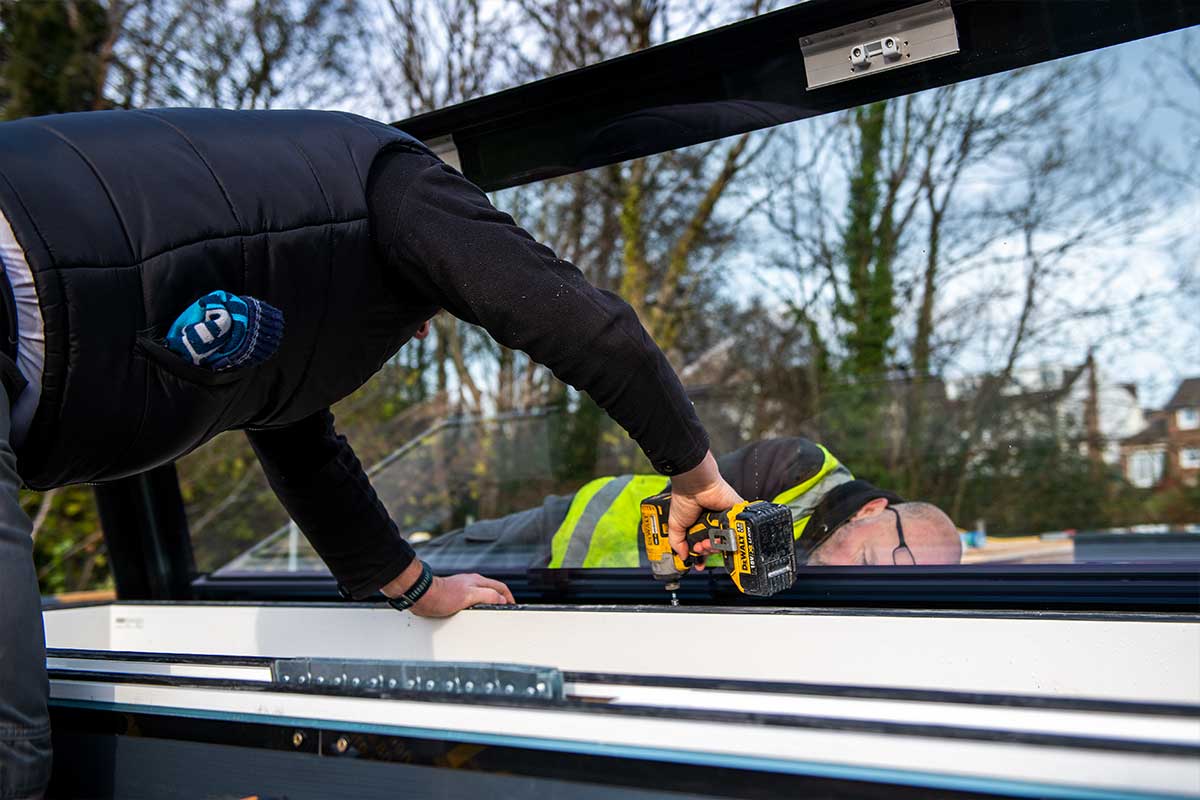
When this is done, it is time to mount the top unit. Most of the rooflight’s weight is in the top unit. Therefore, it is important to ensure personal safety and comply with construction work regulations. 4 double suction cups for glass are a handy tool for mounting and moving the top units. Once the top unit is positioned on the upstand, it is crucial to ensure that the top unit is correctly positioned on the upstand. This is done by ensuring that the interior lining and the black silk screen/masking on the glazing is completely aligned. This is in order to ensure that the top unit is positioned correctly in relation to the gasket system and has the right gasket pressure. Doing this will ensure that you will have a secure and condensation free rooflight installation.
Once the top unit is positioned correctly, it should be secured with the screws in the package. You will find a couple of security (or one-way) screws in the package, these are burglary resistant screws and cannot easily be removed after installation, so be sure that you have completed the rest of the installation steps correctly before you screw these in. After securing the top unit with the screws, check that the top unit is still positioned correctly on the top unit, ensuring 100% alignment of the silk screen and the interior lining.
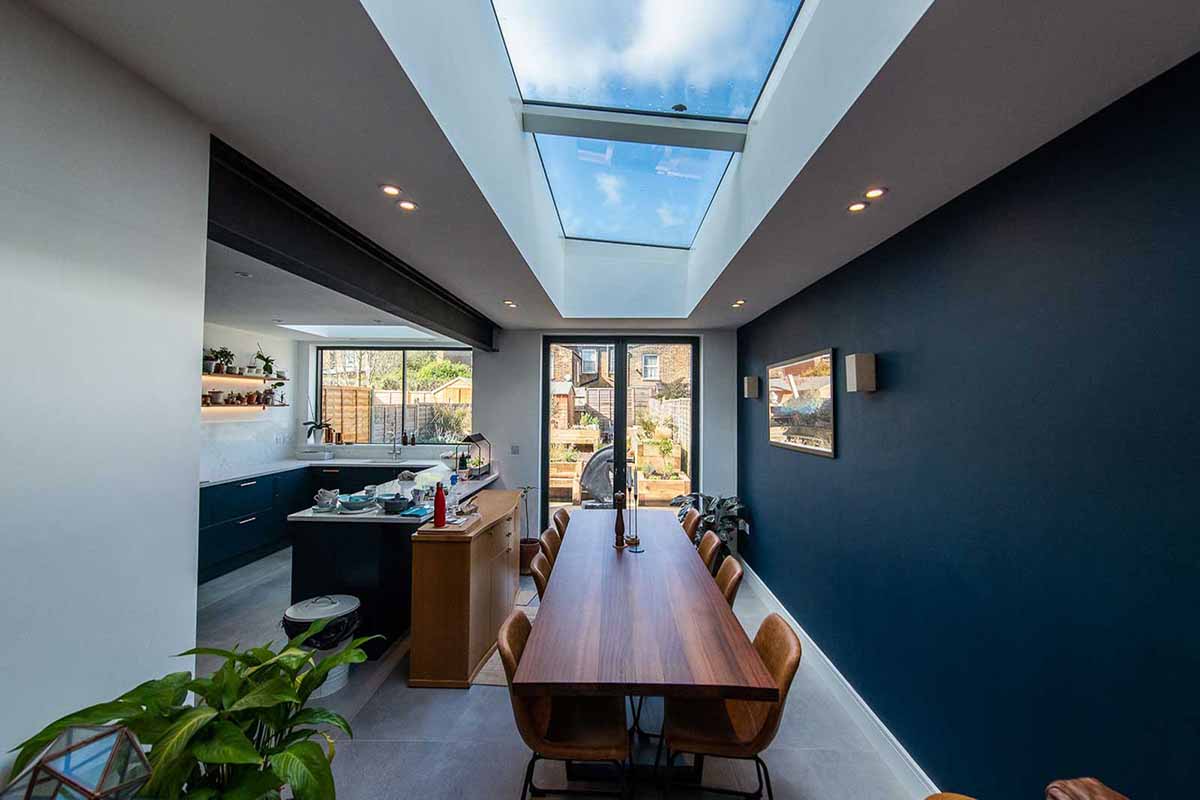
Step 6: Making the interior lining & electrics
Once the Vario by VELUX bespoke rooflight is securely installed and weathered, it is time to finalize the interior. Here, the lining should have 15mm of material connecting to the rooflight upstand. In some cases, it will be necessary to apply a UV resistant joint to create a seamless transition between the interior lining and the upstand.
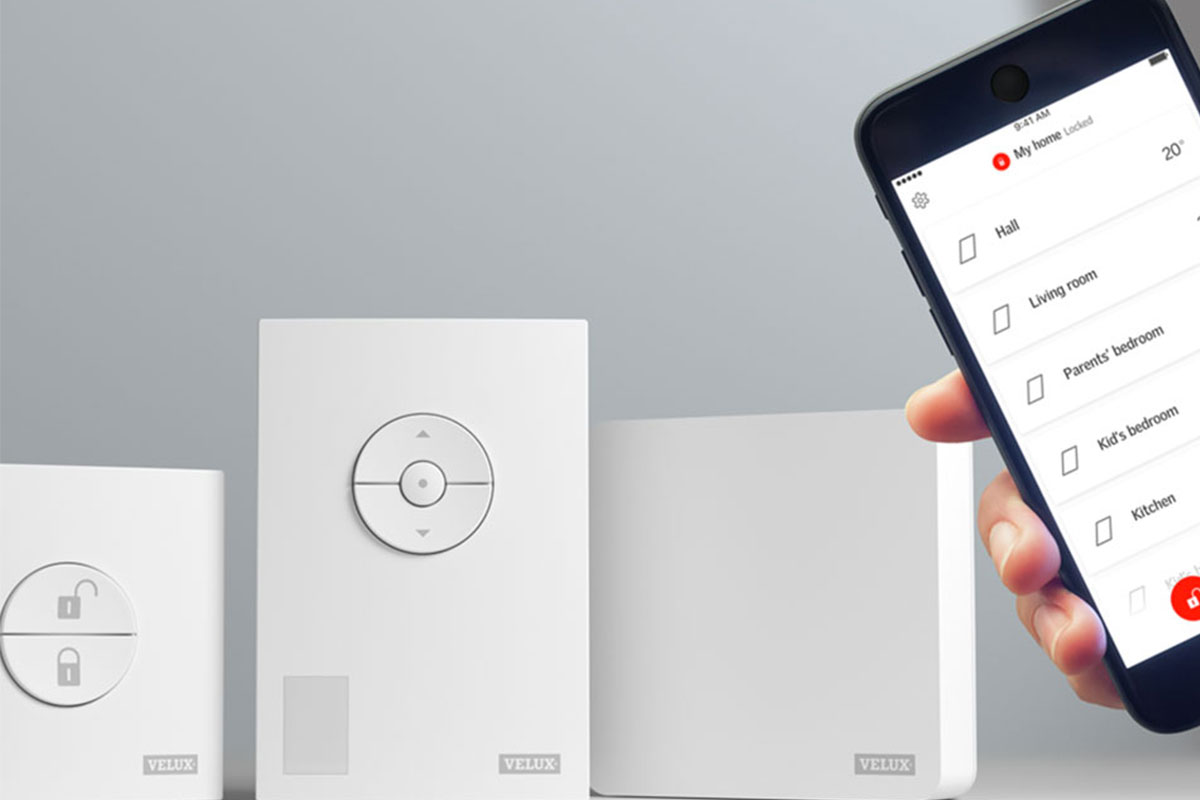
Before doing the lining, you should do the electric wiring as it should be hidden in the roof construction. The power cord from the rooflight should be connected to the control unit (supplied by Vario by VELUX), as well as a rain and wind sensor if you have chosen one of these as well.
We recommend that you use an electrician to do the electric wiring and inner lining to achieve the best result.
After the electric wiring has been completed, the final step is to connect the actuator chain with the top unit. The is done by extending the chain a little (which requires a power supply) and fitting the actuator pin and retaining clip. Both the pin and clip are located on the top unit just above the actuator chain.
If you follow these steps, we will ensure that you and your contractors will have a great day installing Vario by VELUX bespoke rooflights. What's more, for visual support you can watch this short video on installing bespoke rooflights.